Project gallery
Table of content:
- Create a new template project
- Attach a template to a 'Space' (team) in Bluepic SOCIAL
- Delete a project
- Duplicate a project
- Create a project folder
- Move projects to a different folder
- Share a project with another STUDIO user
- Share a folder with another STUDIO user
Create a new template
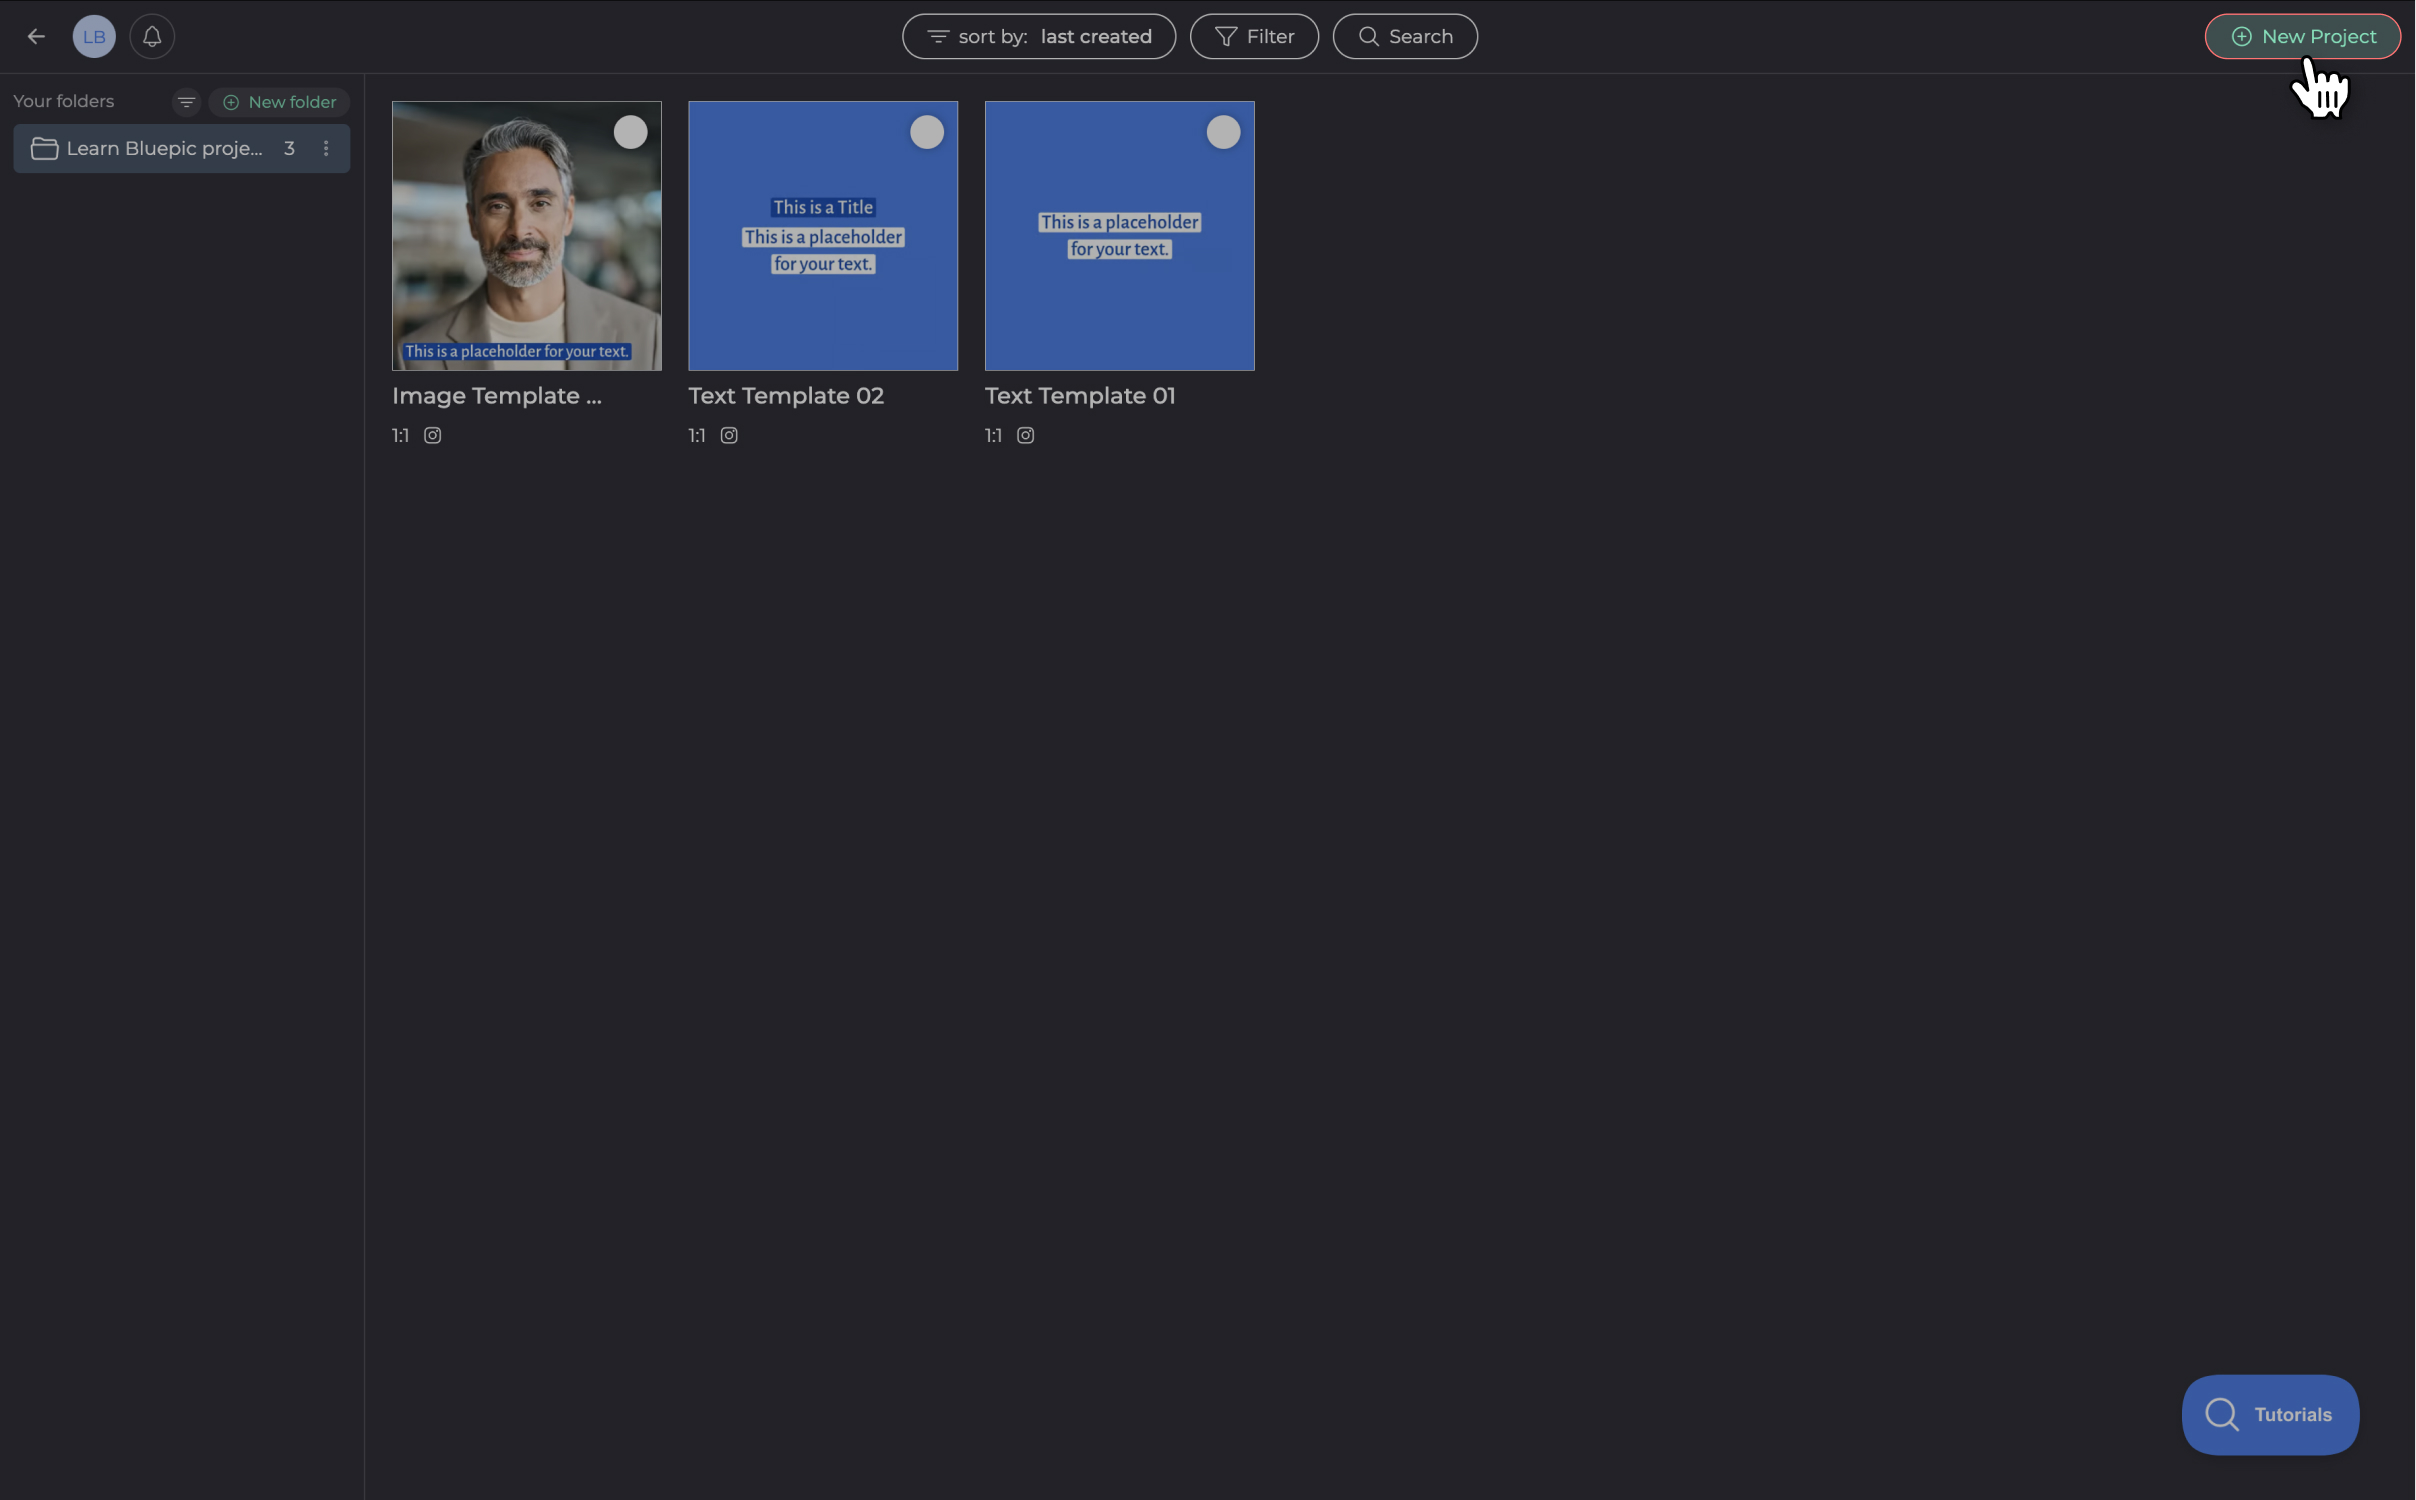
To create a new project, simply click the "New Project" button in the top right corner. Before your project is created, you will need to configure some of the project settings like the project name and the template's aspect ratio. You can edit all project settings at any time if you change your mind or want an aspect ratio that is not among the available presets.
How to create a project with a specific aspect ratio?
If you need an aspect ratio that is not among the available presets, simply create your project with the default ratio of 1:1 and then edit the canvas size to whatever you need in the settings of your project.
Attach a template to a Space (team) in Bluepic SOCIAL
You can select multiple projects to attach each one at the same time.

Delete a project
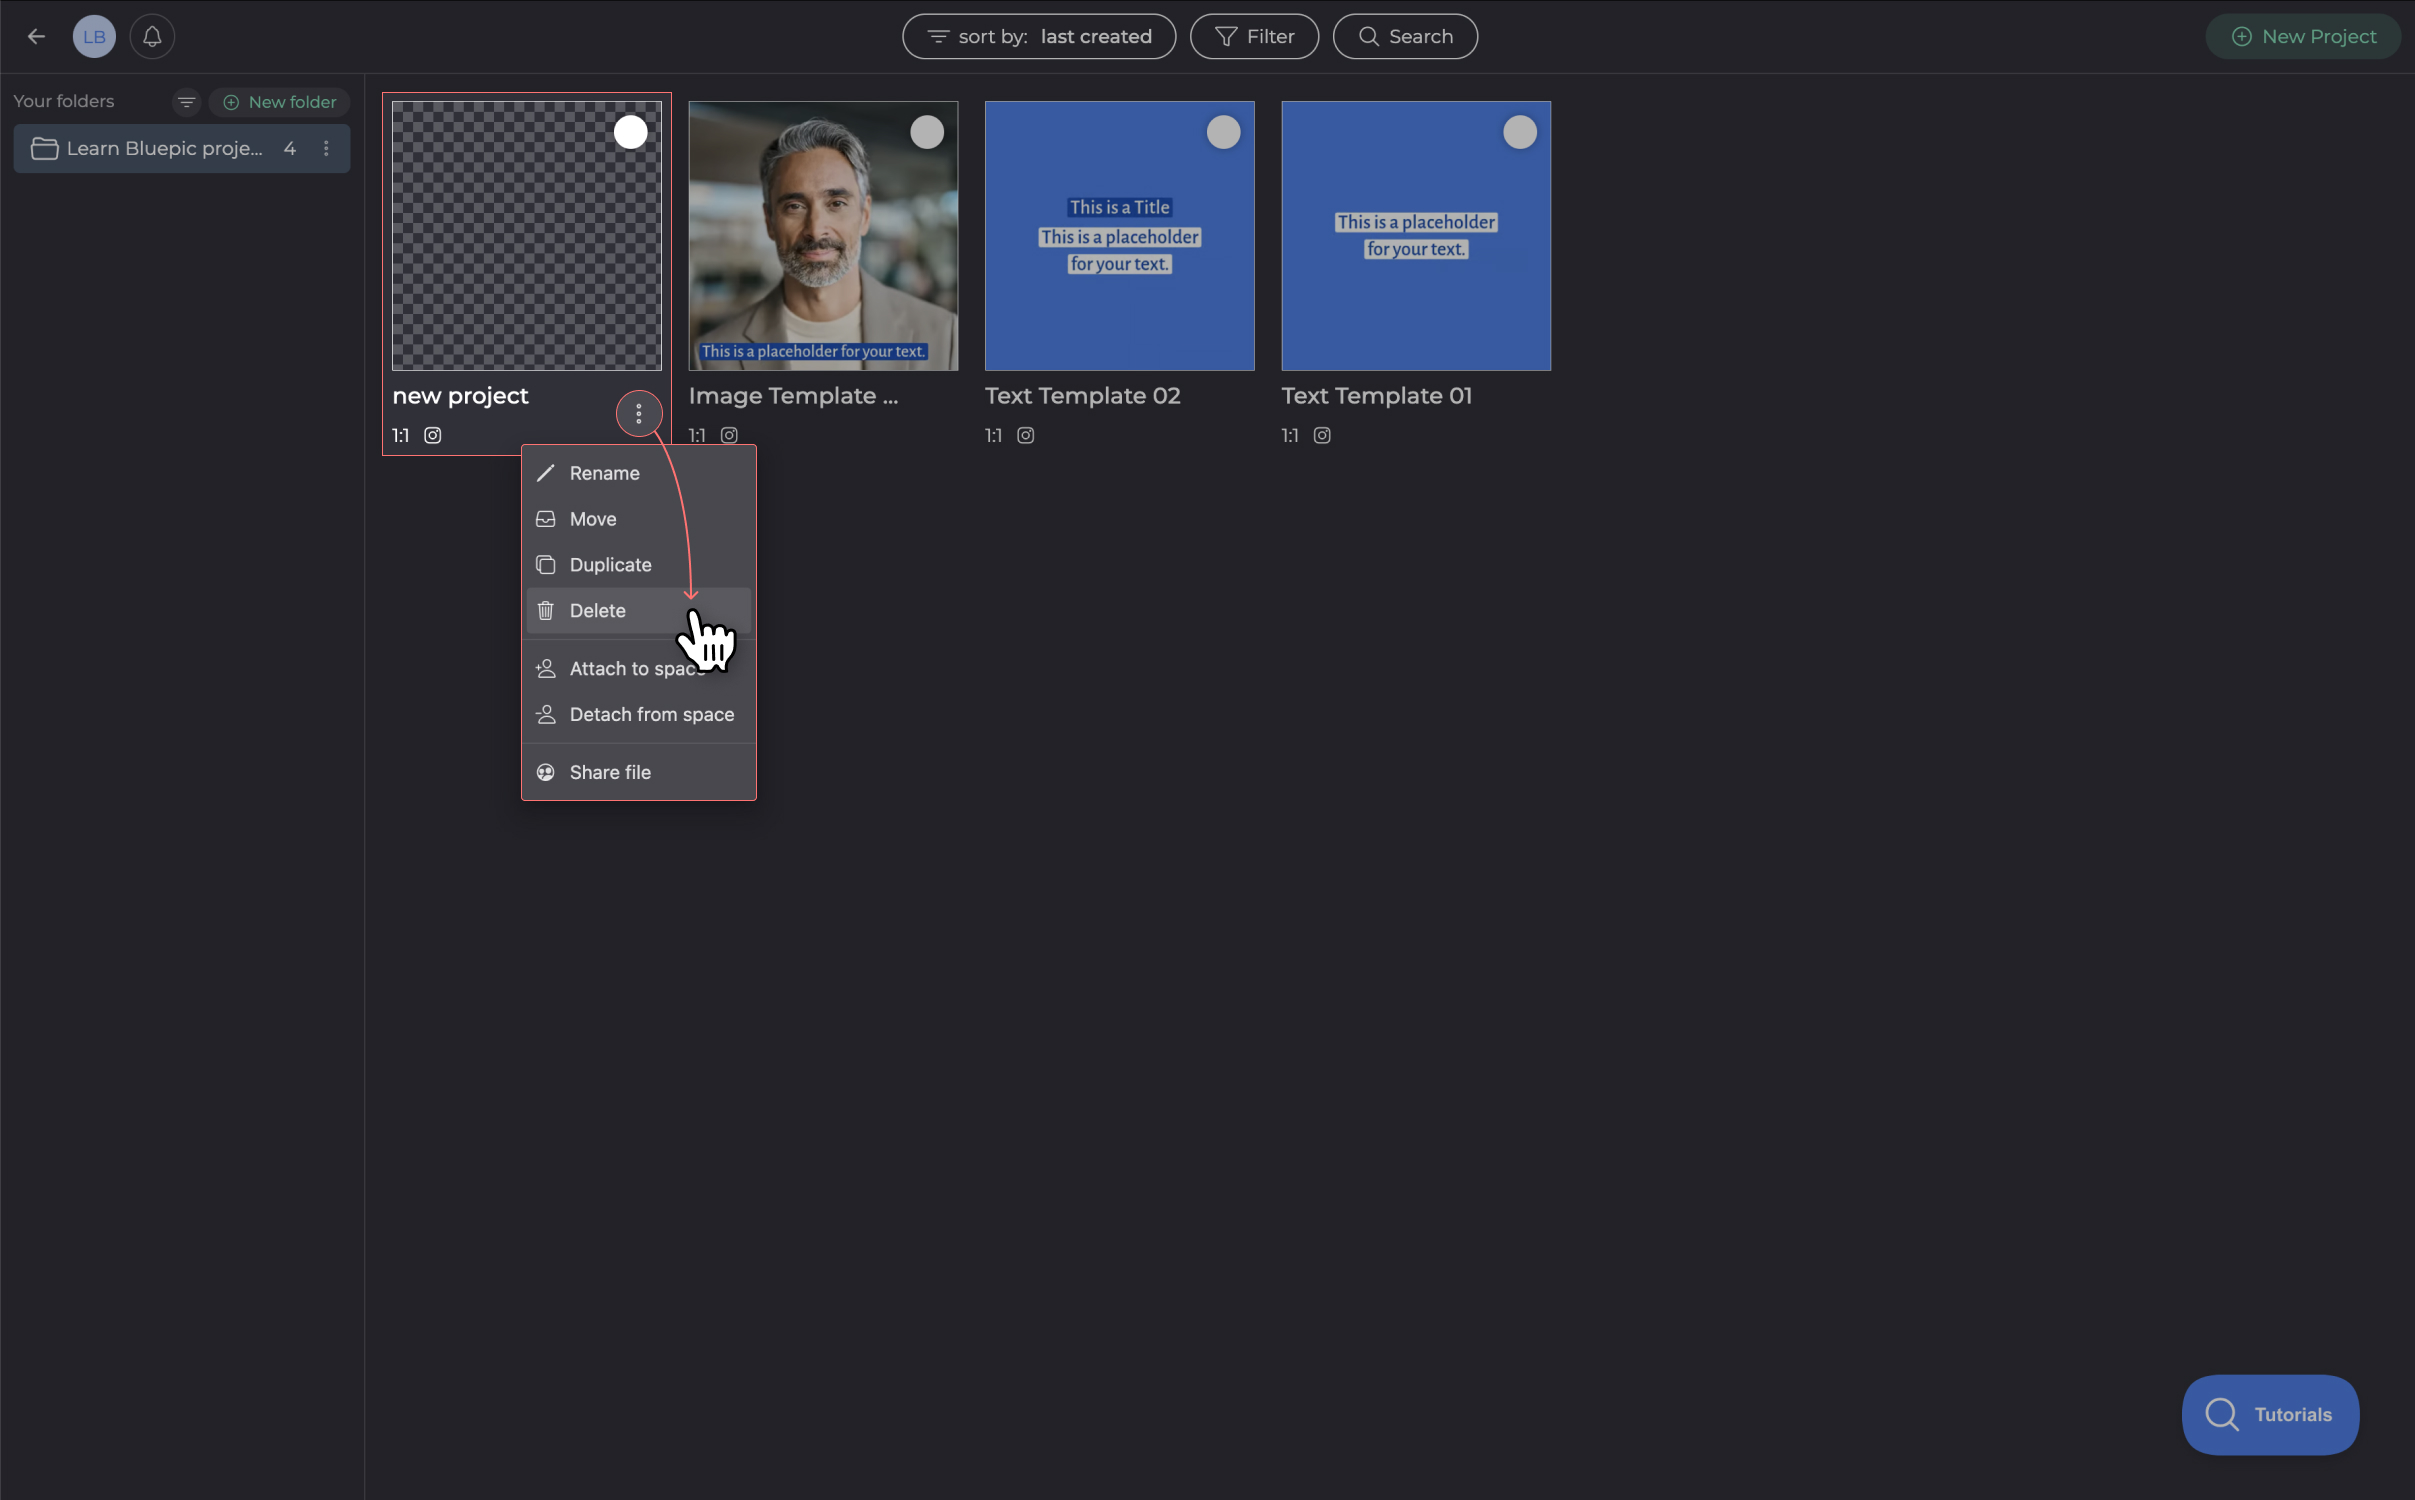
You will find the delete button in the context menu of the project. To access the context menu, hover over the button with the three-dots icon.
Duplicate a project

Create a project folder
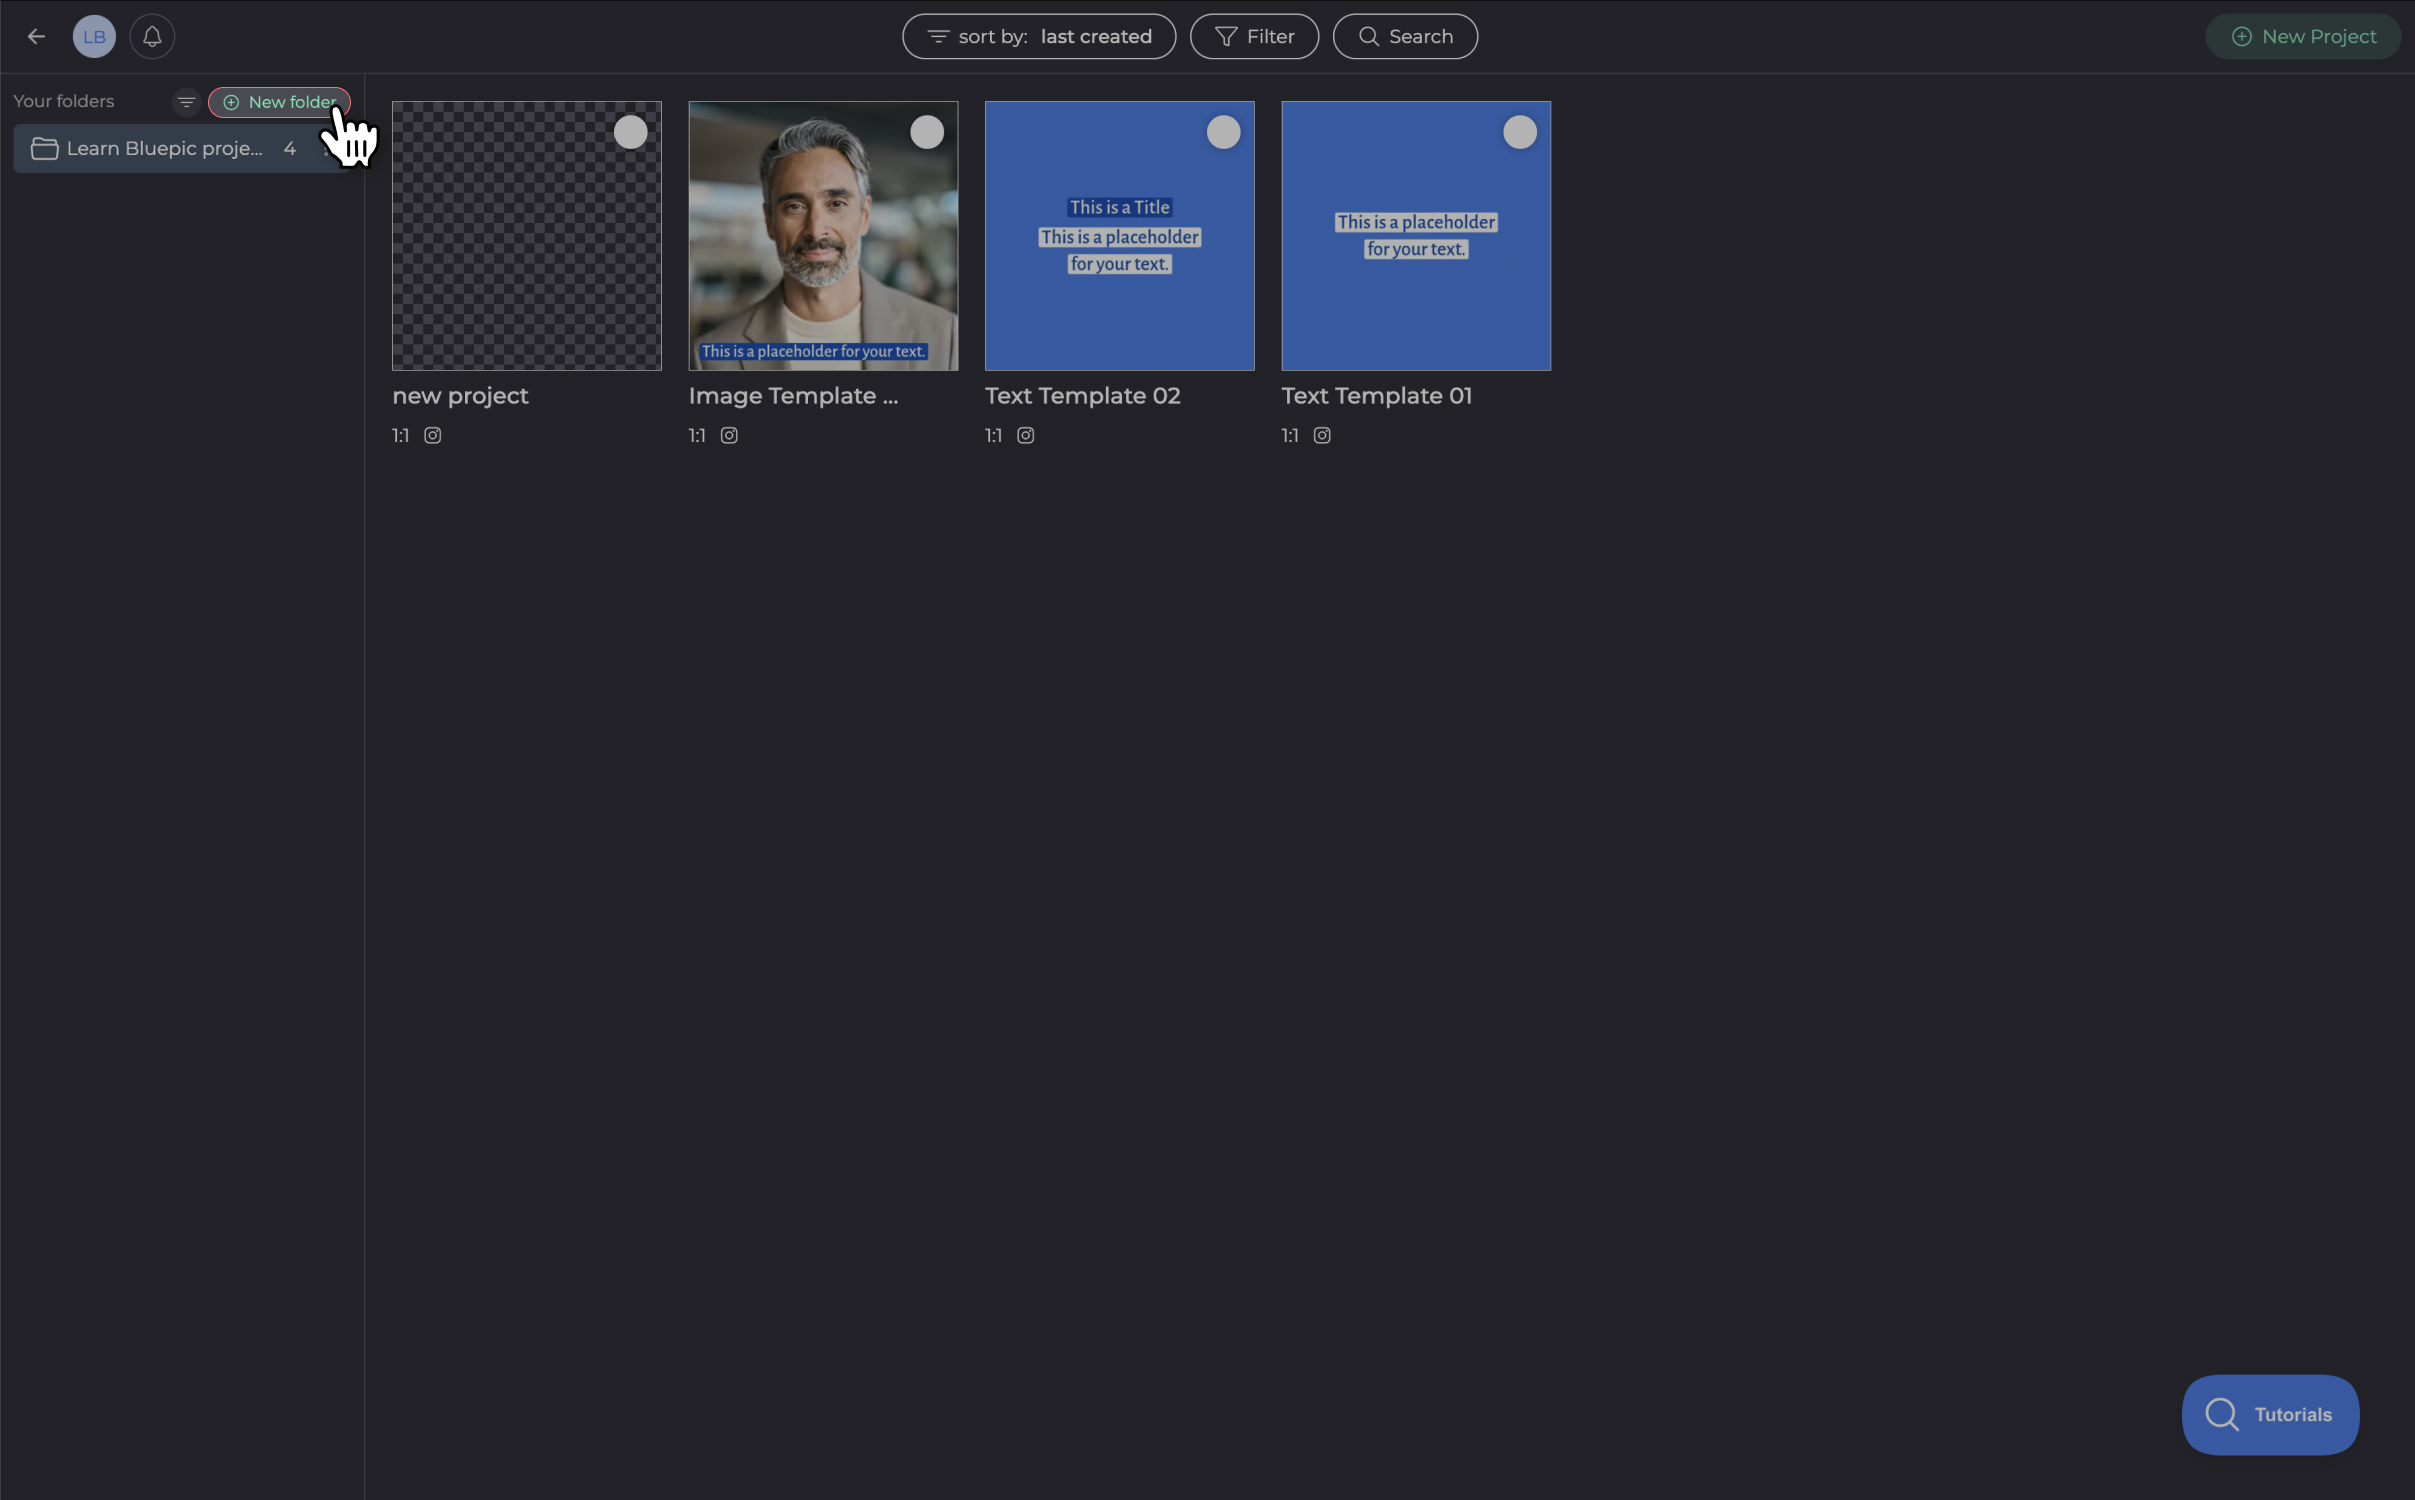
Click on "New folder" to create a new project folder.
Move projects to a different folder
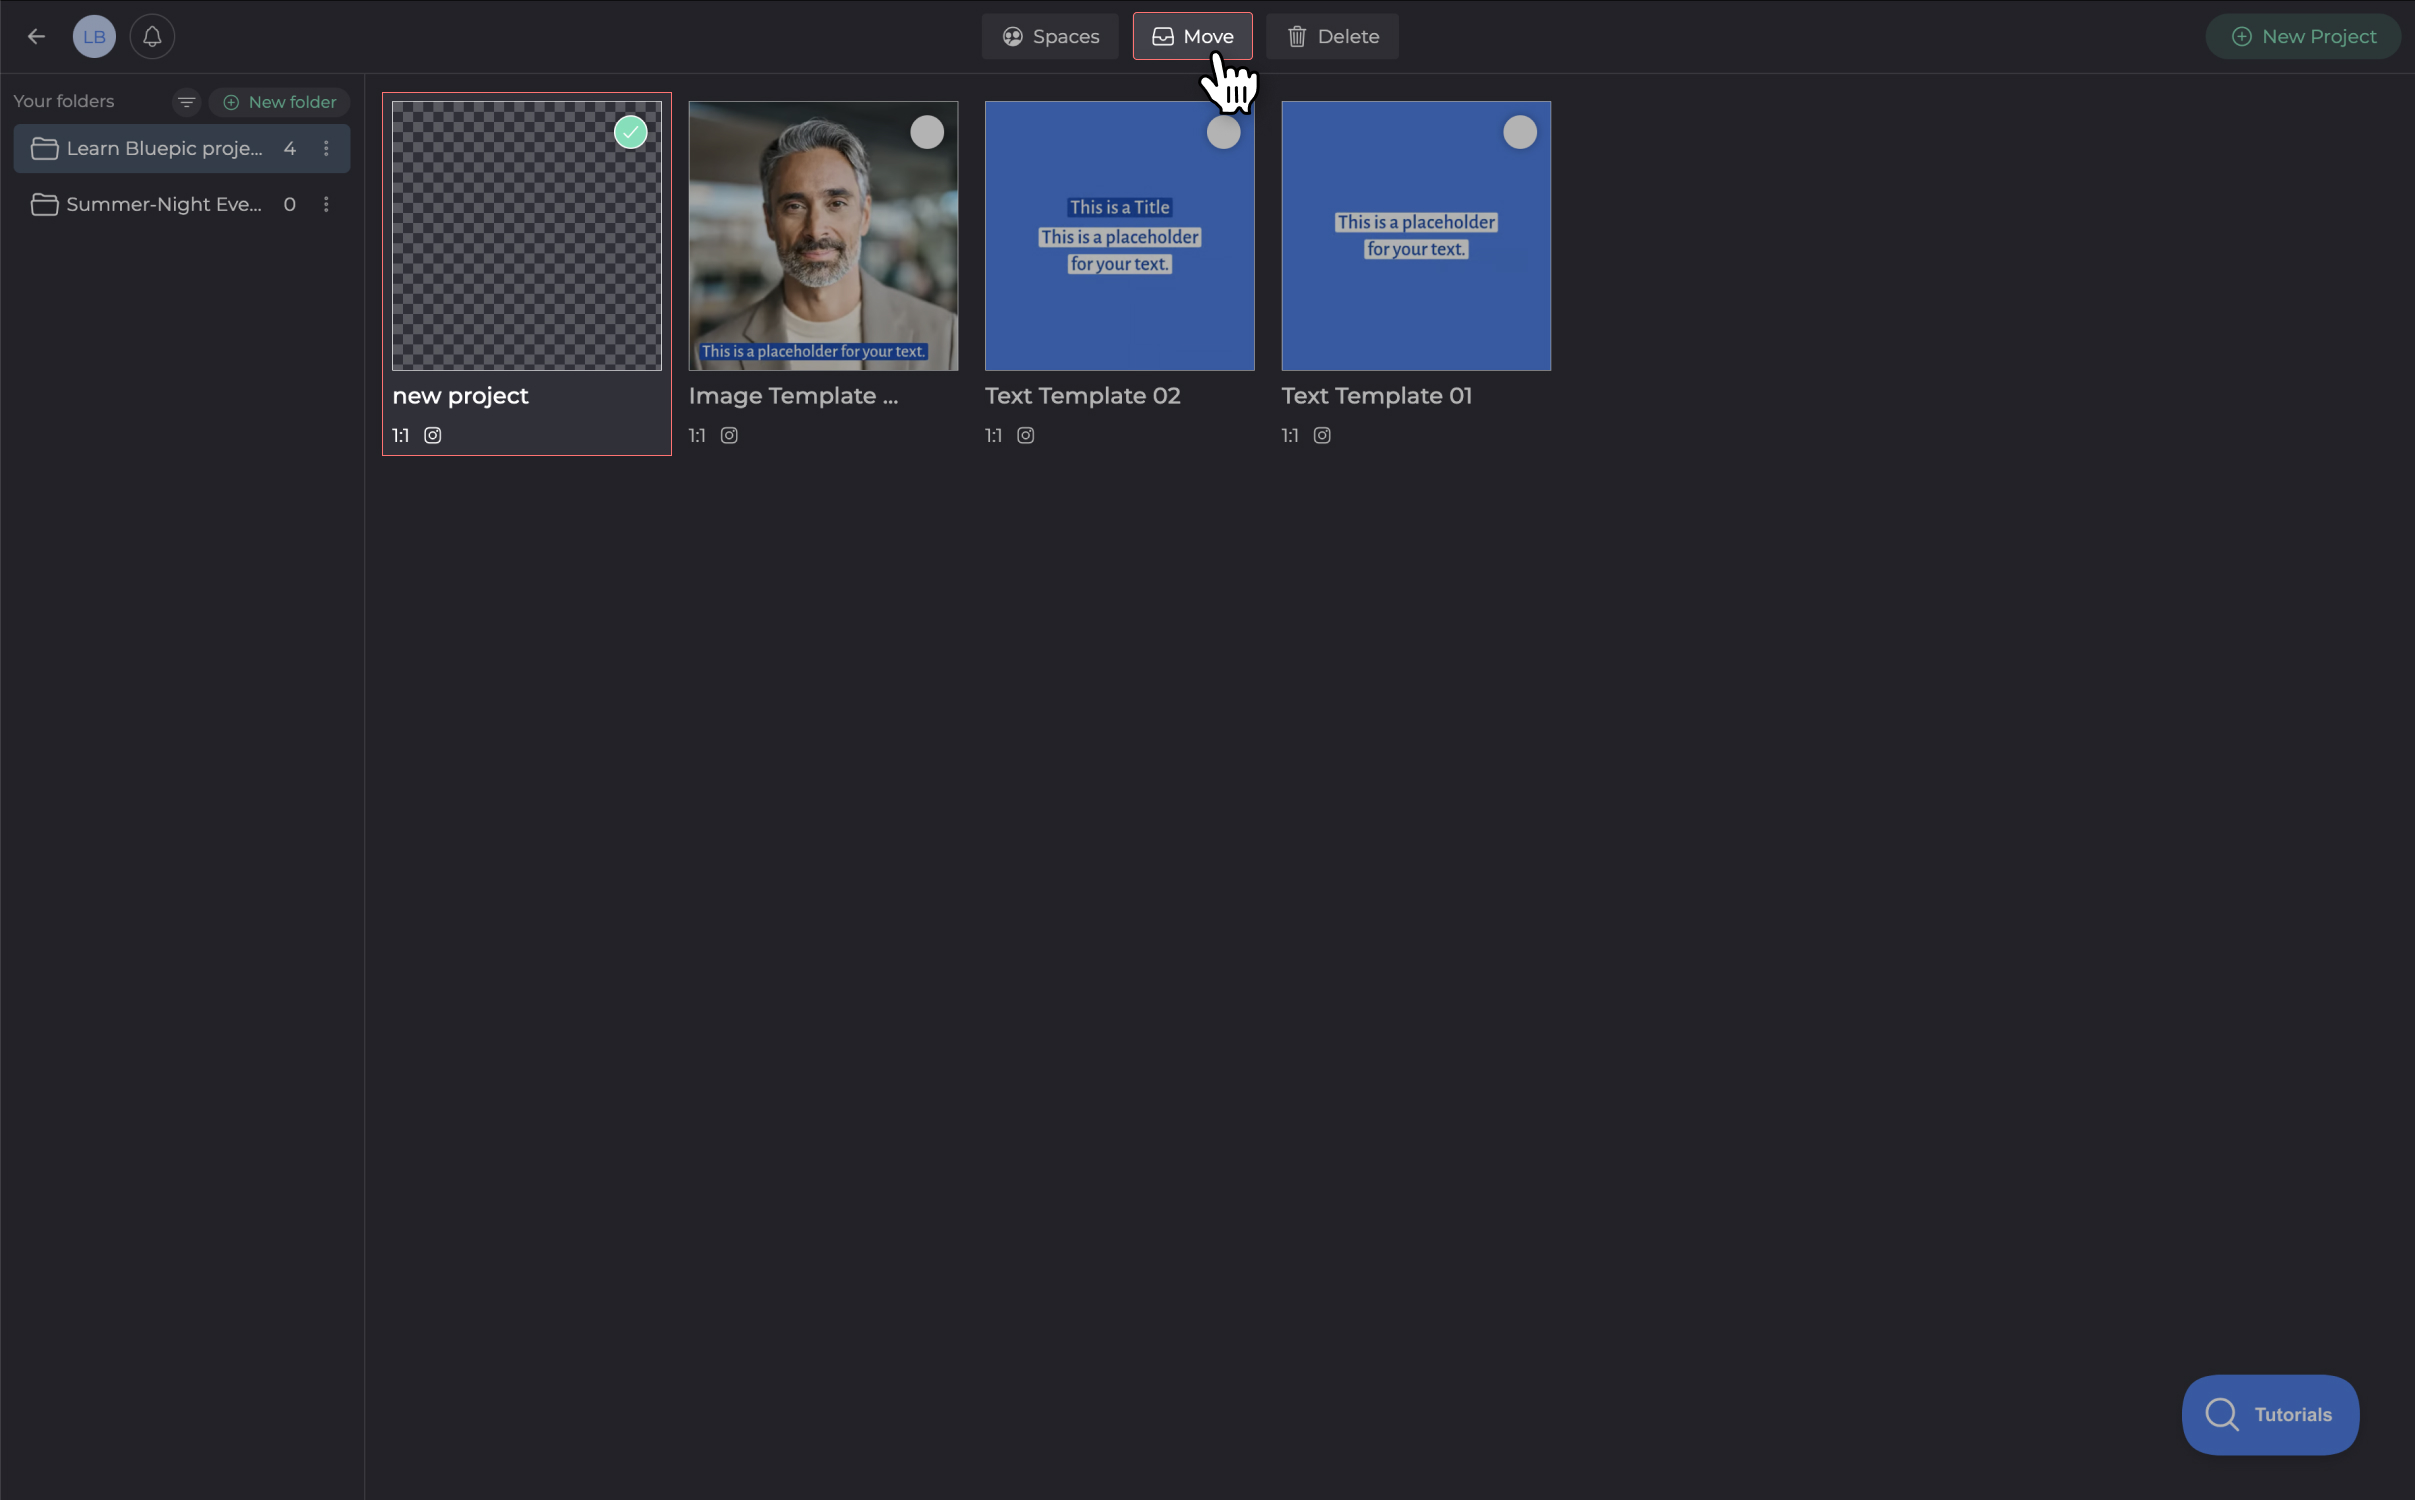
You can select multiple projects to move each one at the same time.
Share a project with another STUDIO user
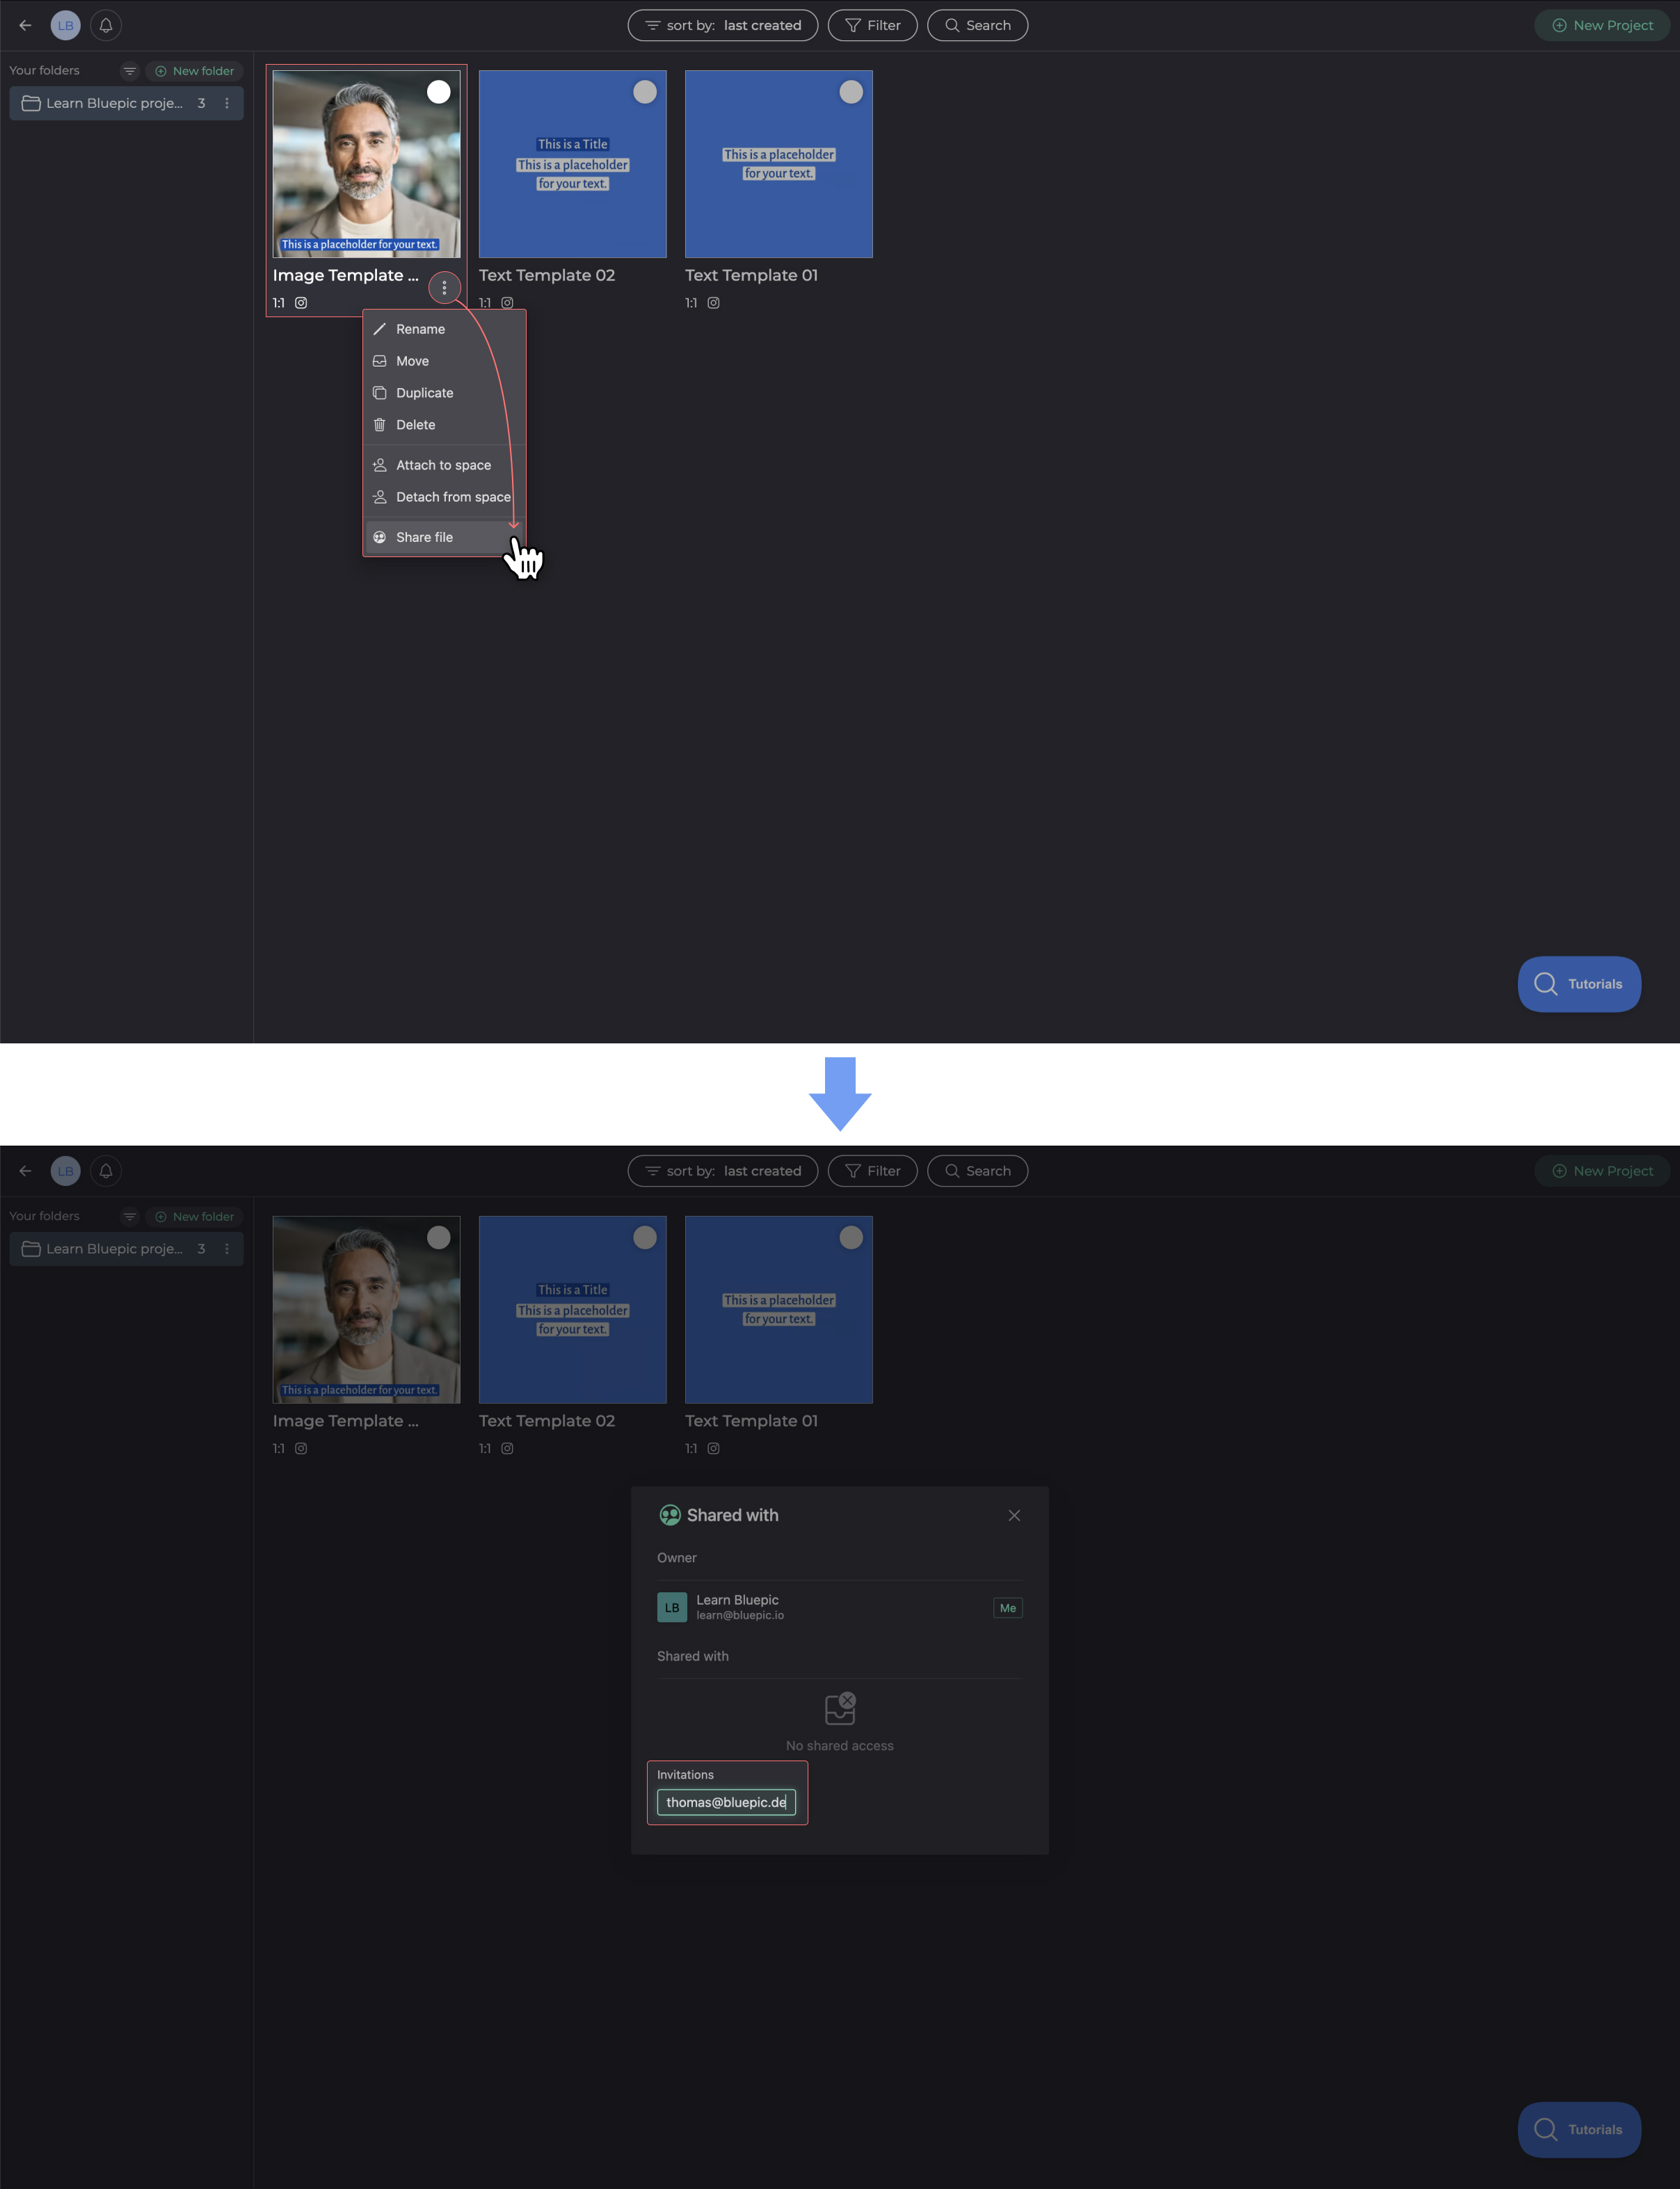
You can share individual projects with other users. This will allow them to make changes or create copies of the project. To share a project, access its context menu and click on Share file. Then enter their account's email address under "Invitations". Once you have entered the full email address, press the Enter key to send the invitation.
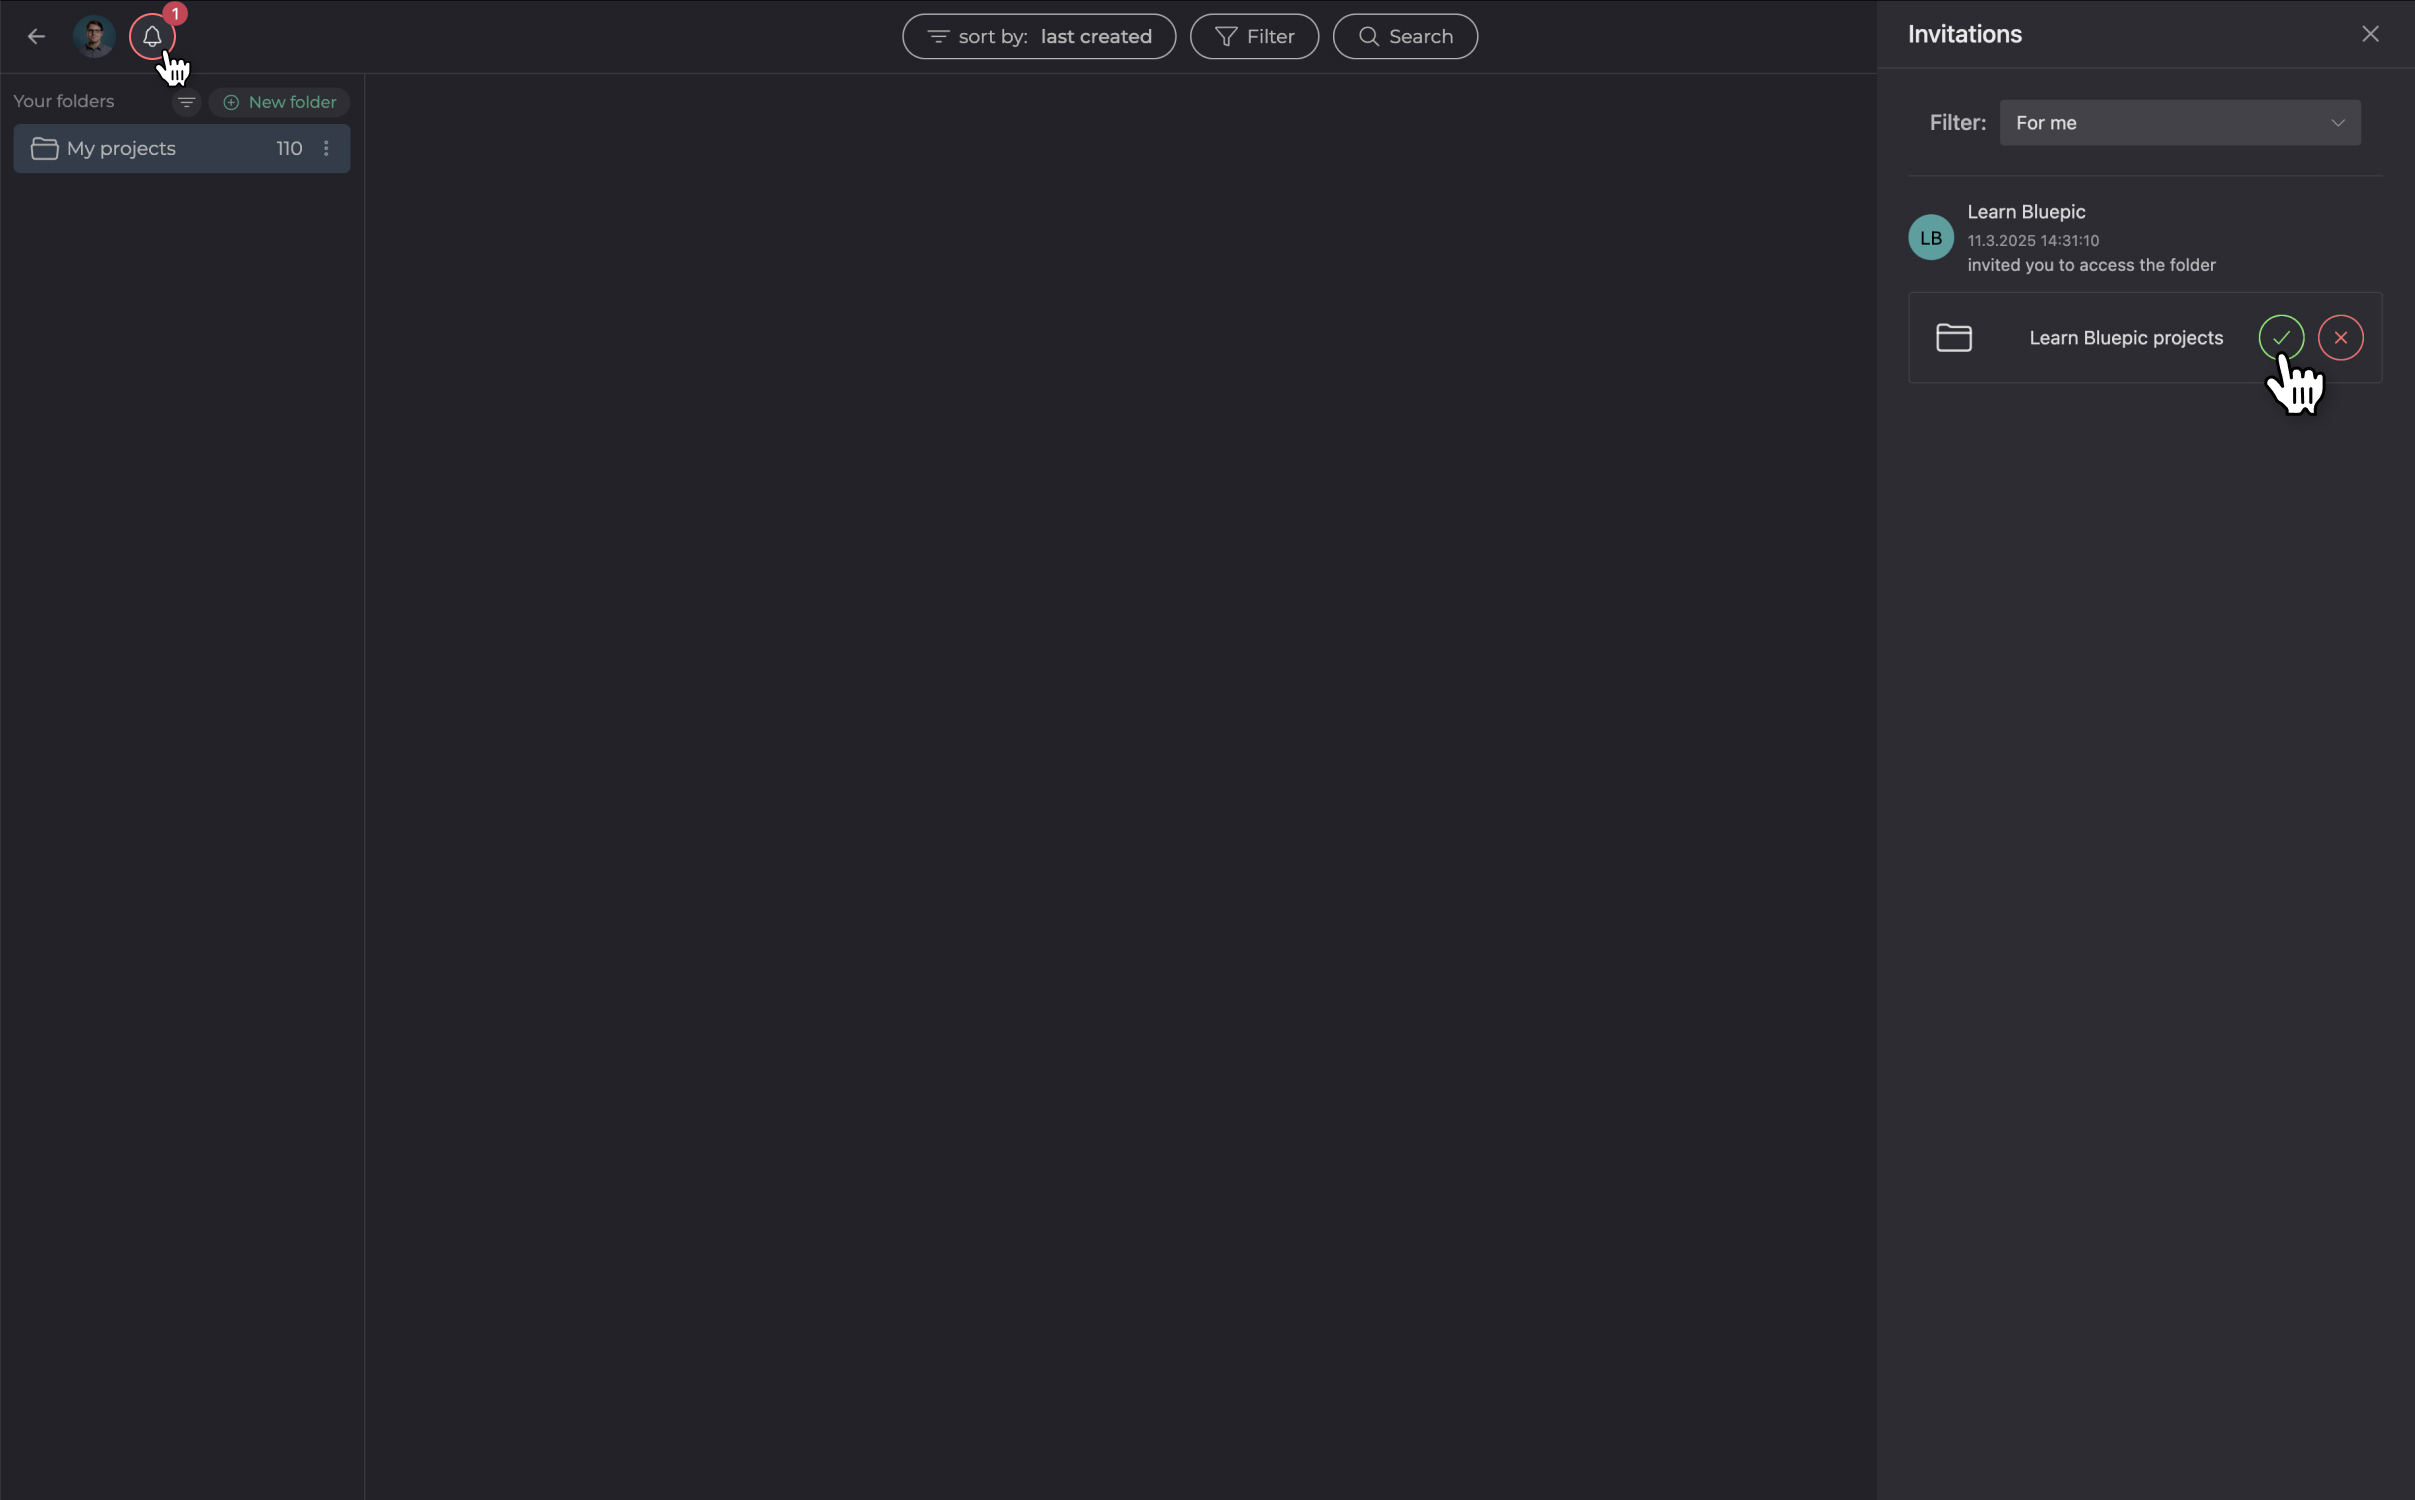
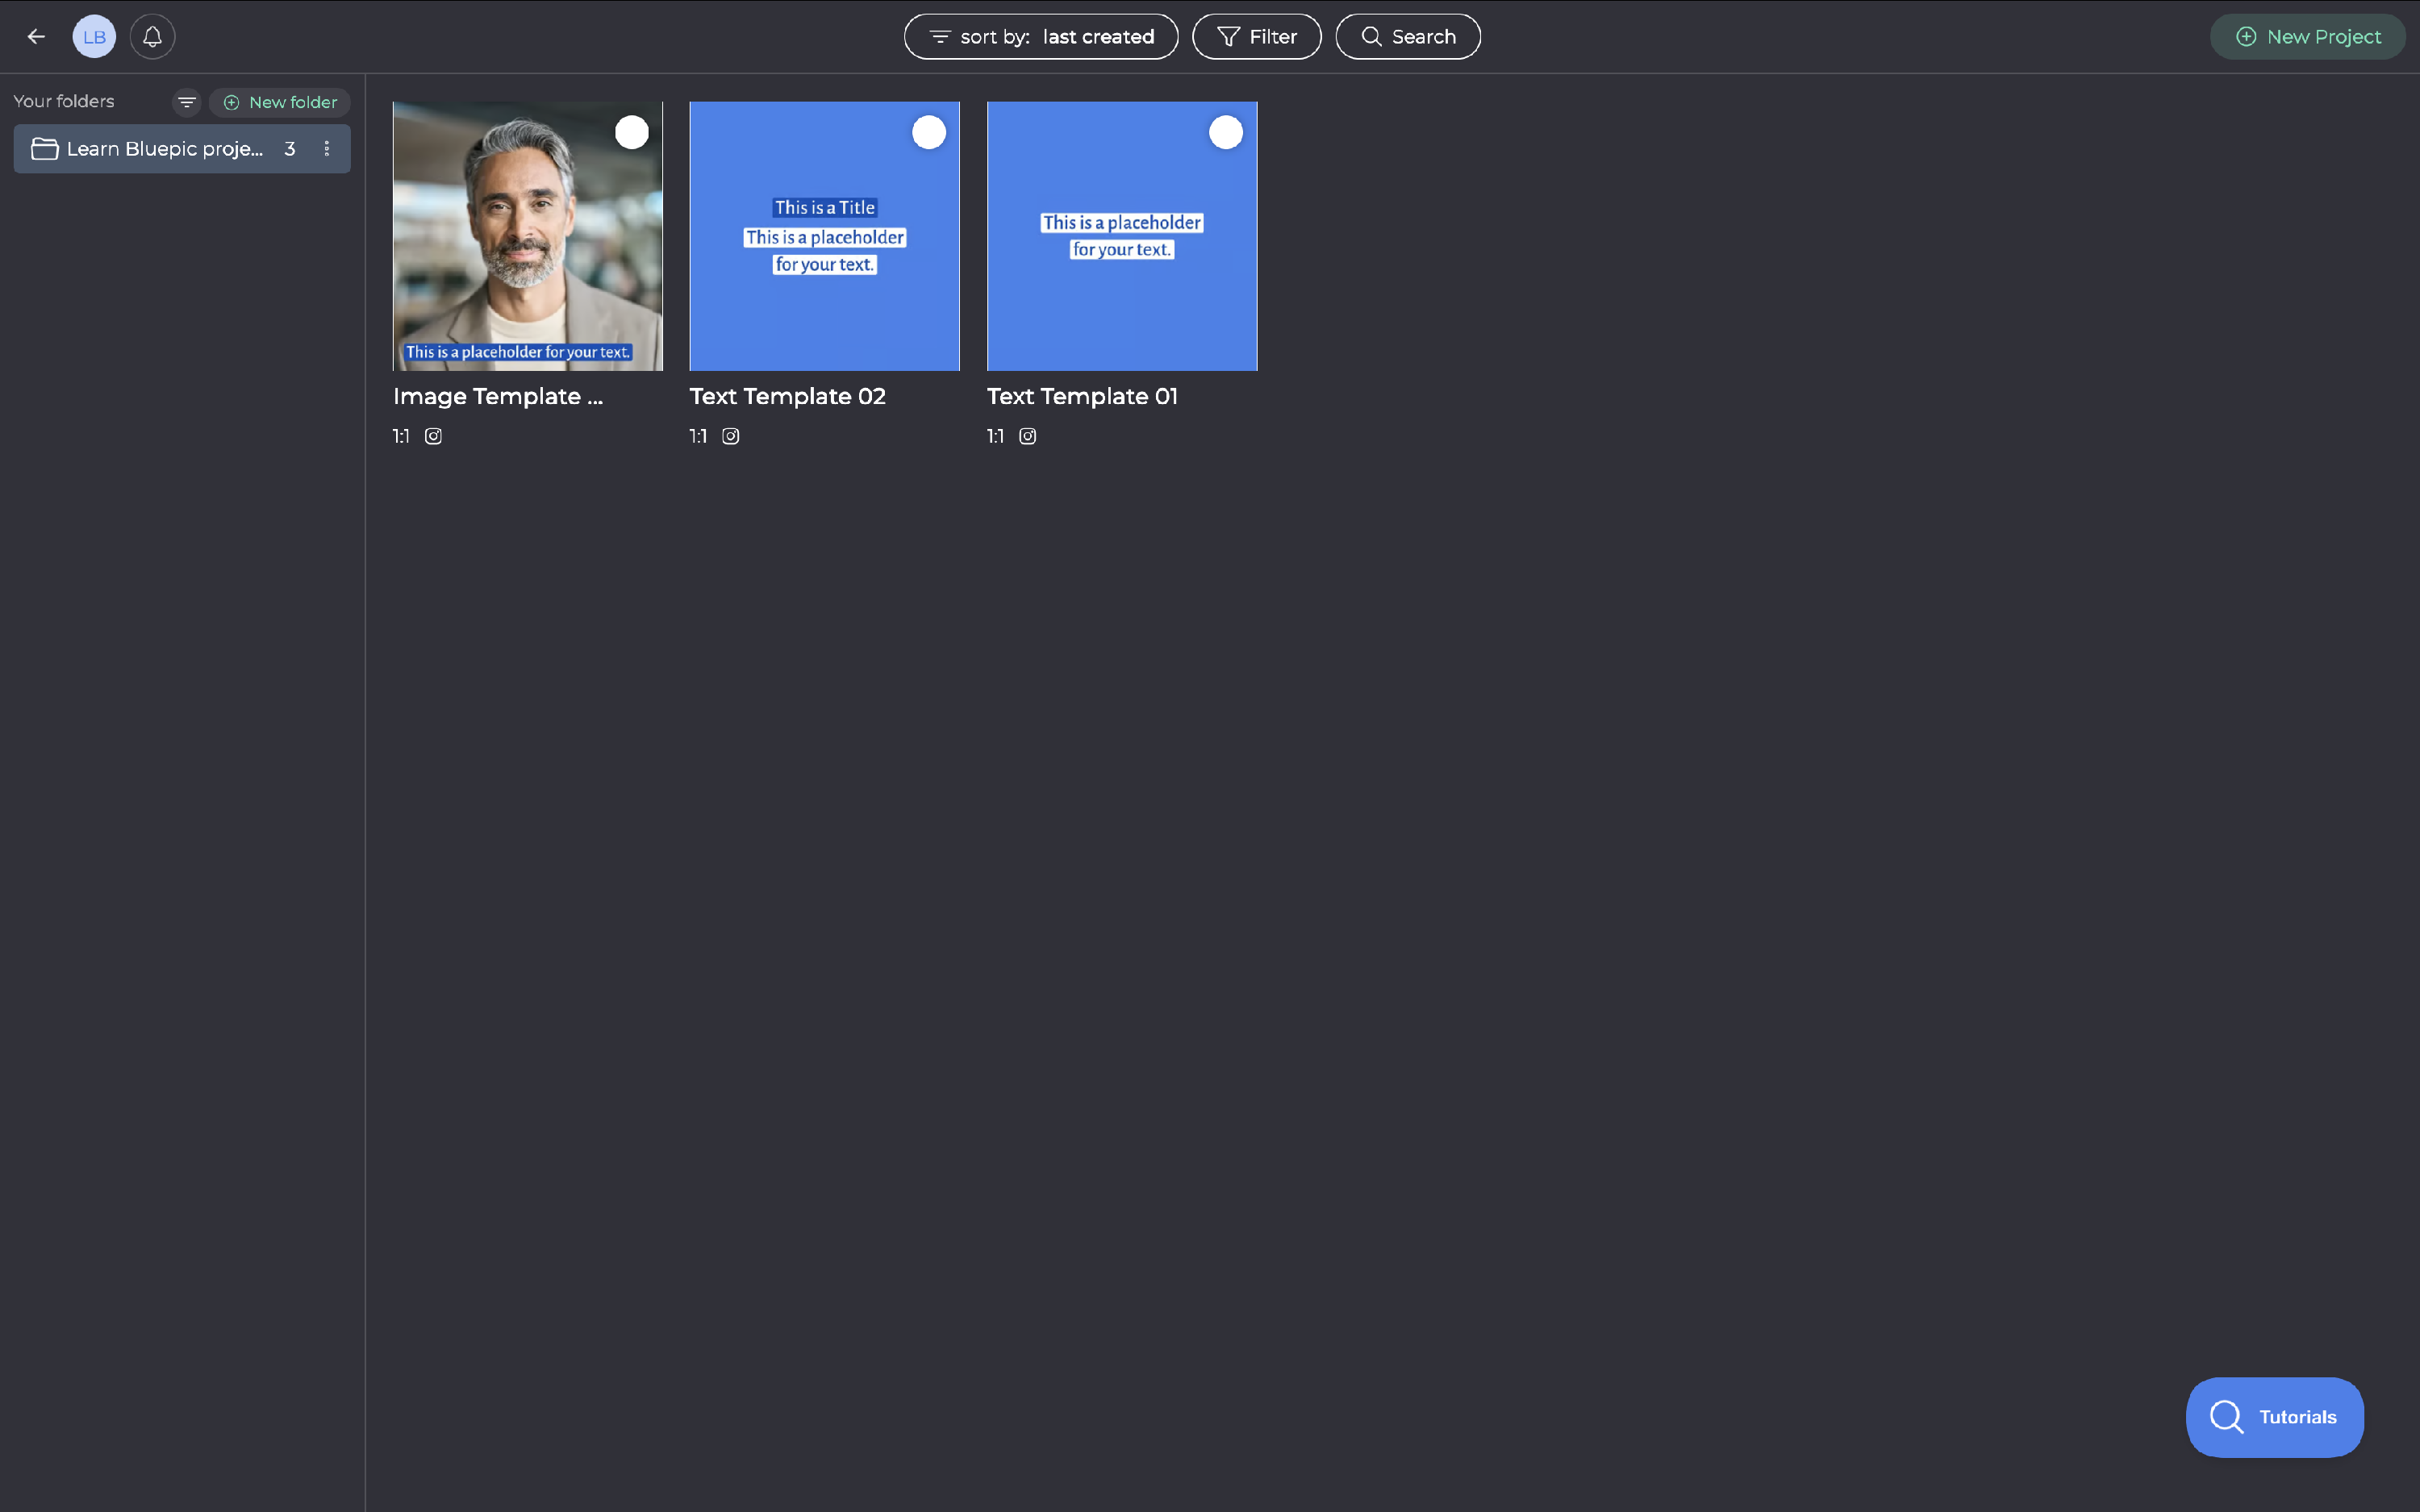
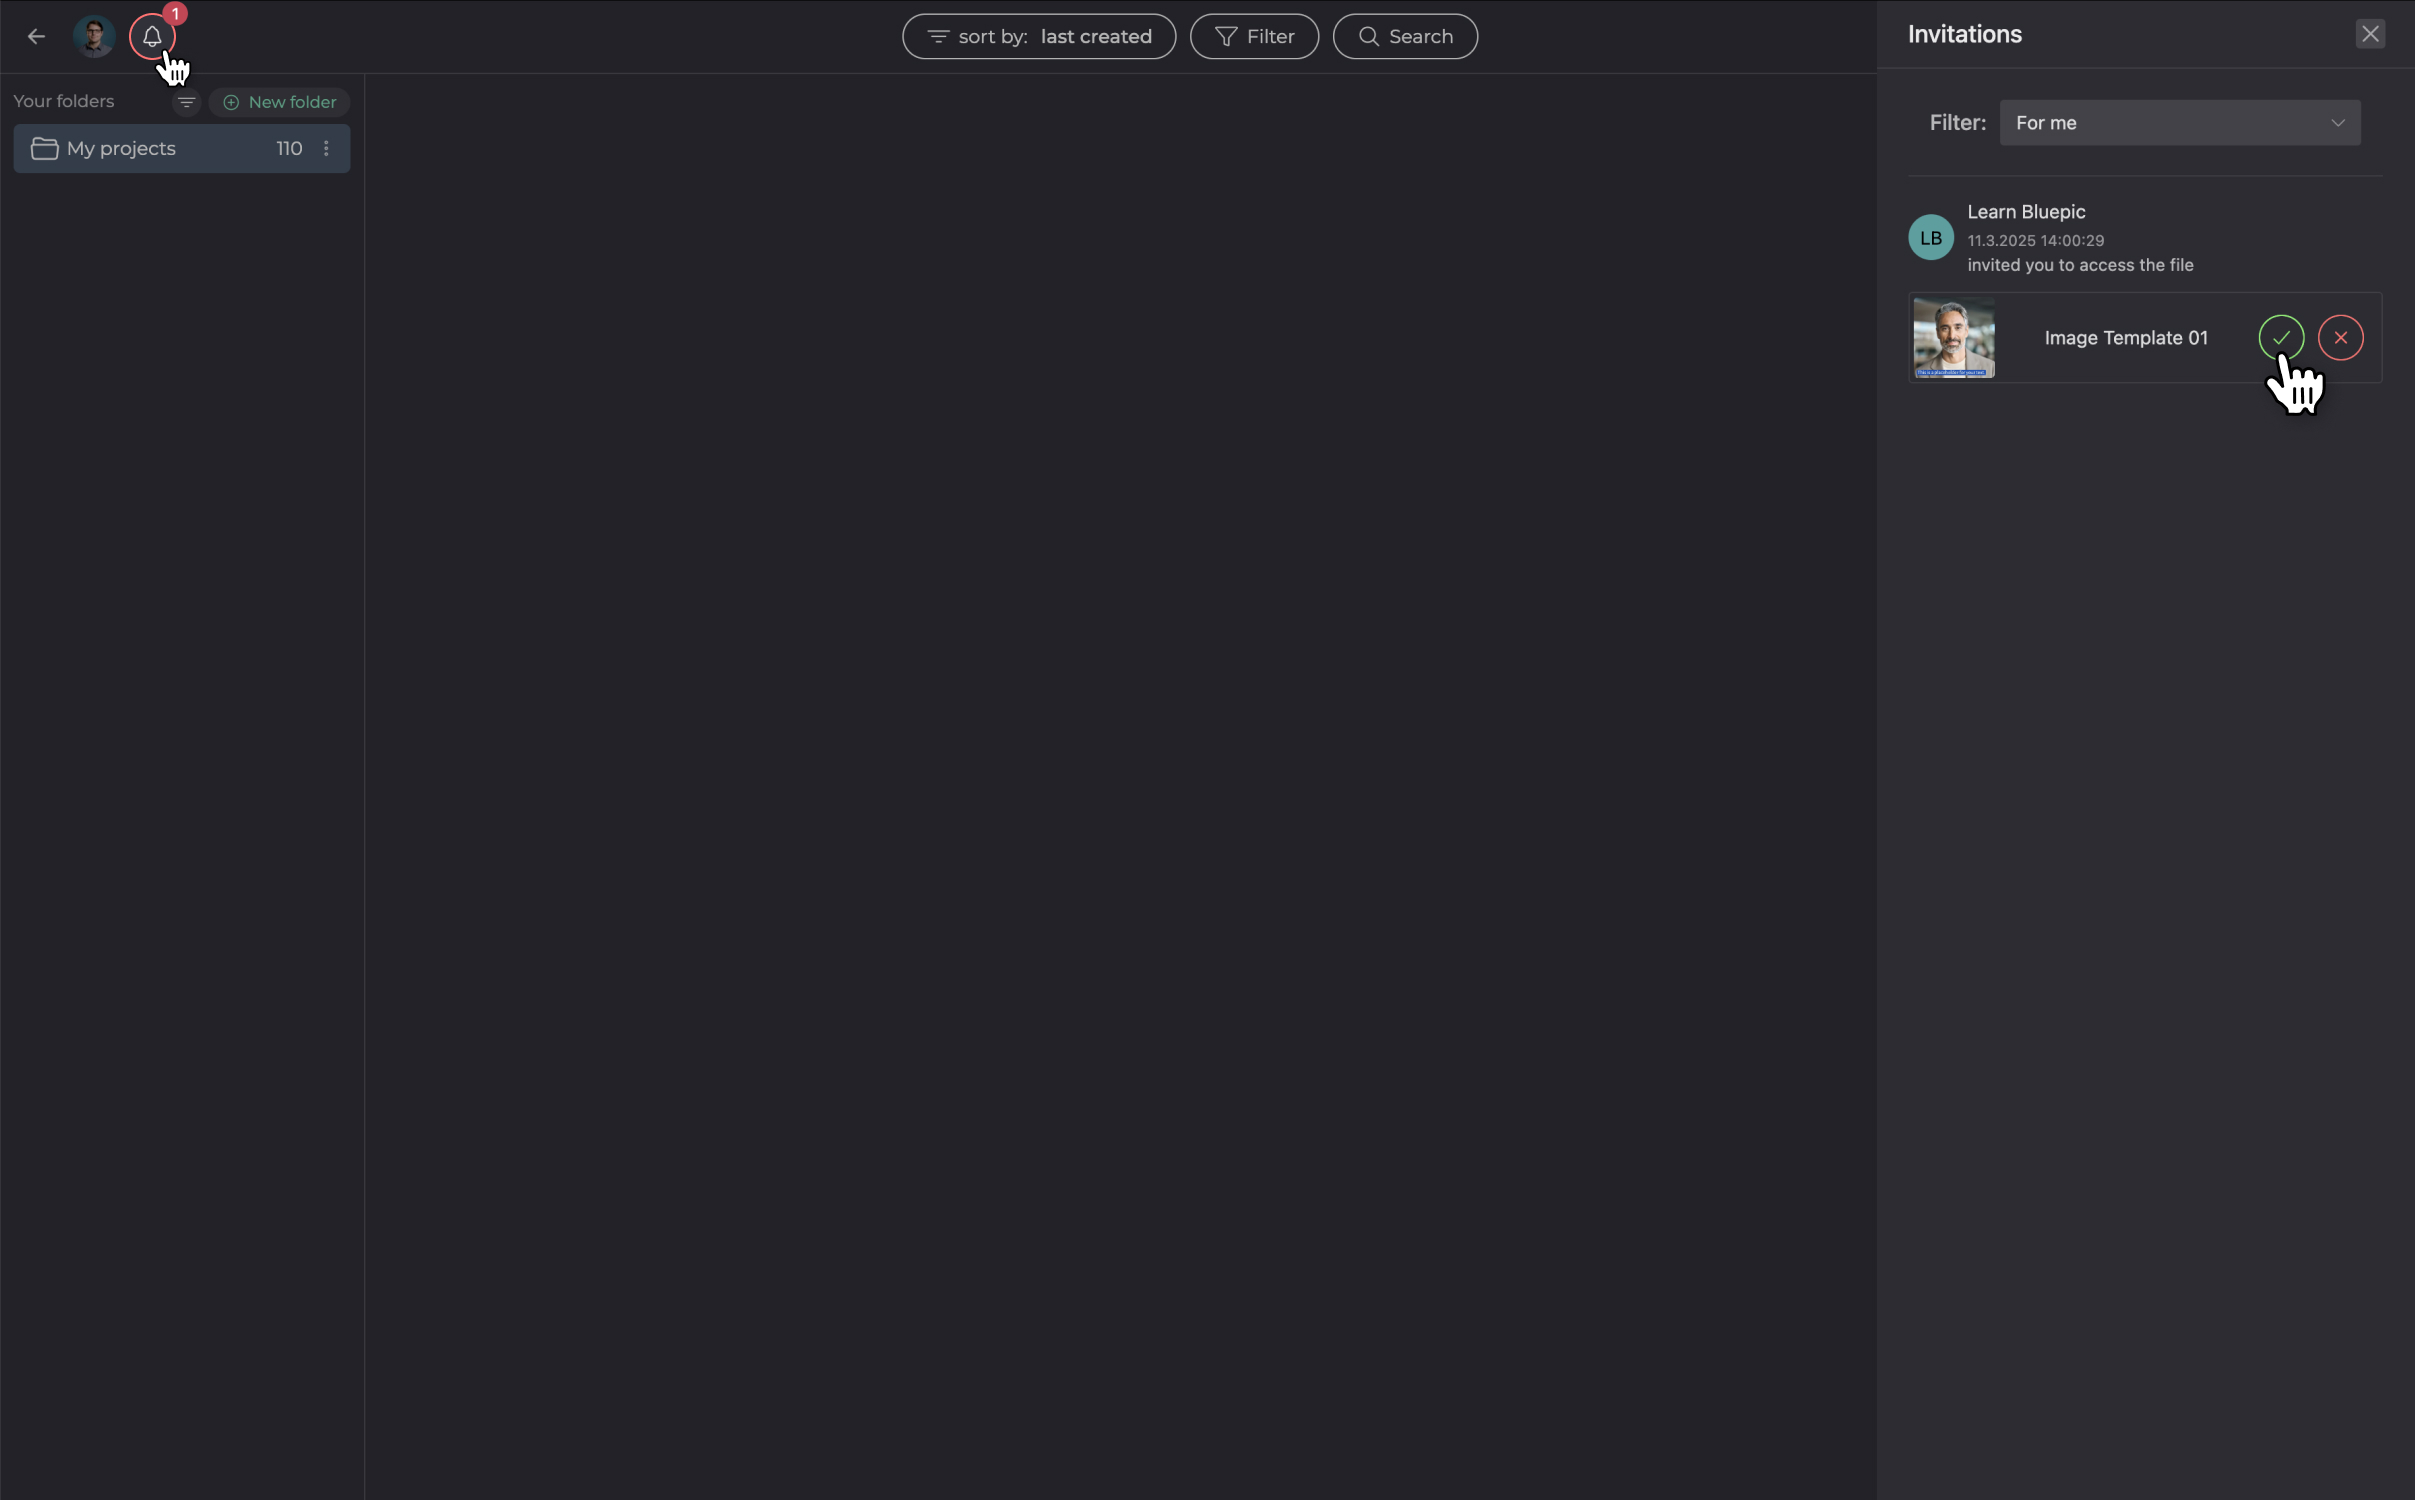
The other user will need to accept your invitation before the project becomes visible in their gallery. The invitation can be found and accepted in the notifications panel. Click the bell icon in the top left to access the notifications panel. Once accepted, the project's folder will appear in the folders list.
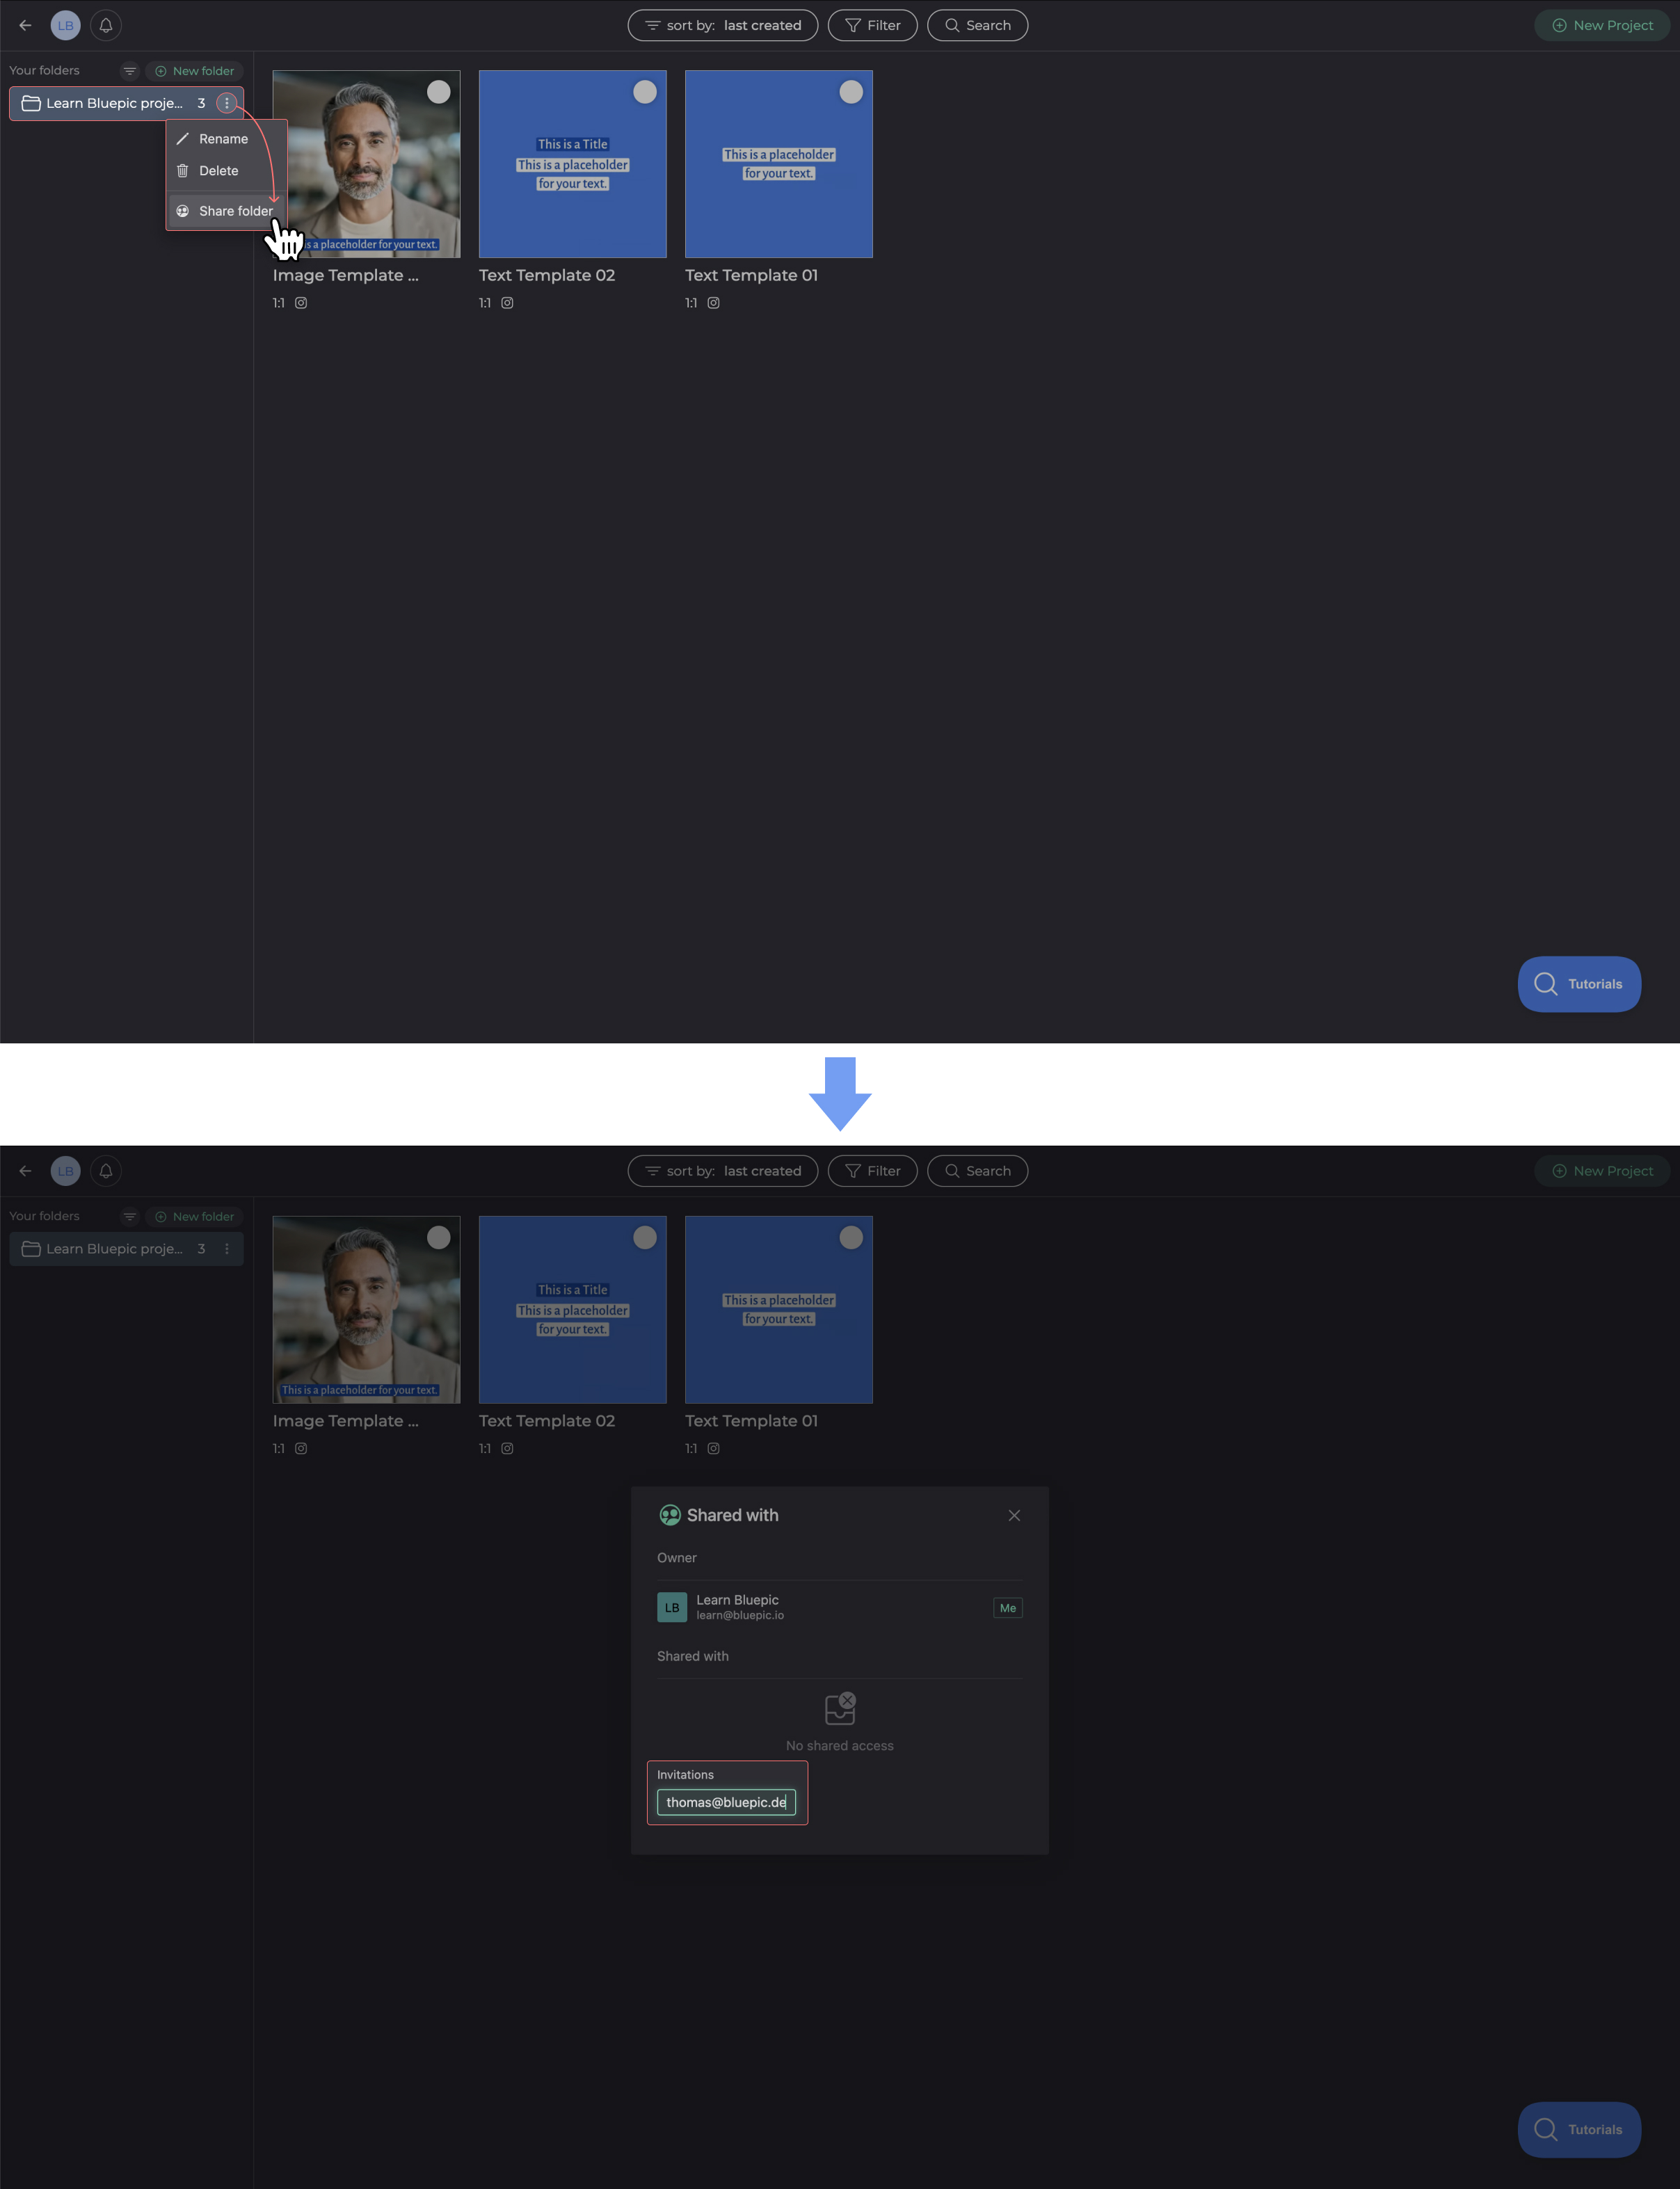
Share a folder with another STUDIO user
You can share folders with other users. This will allow them to make changes or create copies of all the projects in that folder. To share a folder, access its context menu and click on Share folder. Then enter their account's email address under "Invitations". Once you have entered the full email address, press the Enter key to send the invitation.
The other user will need to accept your invitation before the folder becomes visible in their gallery. The invitation can be found and accepted in the notifications panel. Click the bell icon in the top left to access the notifications panel.